Start with the load display
Below 30% of maximum equipment load is light load. From 30% to below 70% is medium. At 70% and above, expect heavy load; overloaded equipment prevents normal dodging. Aim for medium while learning and leave a little margin below the threshold.
Weapons, shields, catalysts, armor and talismans in equipped slots count even when you put them away. Inventory weight does not. Raise Endurance or remove equipment when a new item pushes the setup over the threshold.
Do not spend your escape
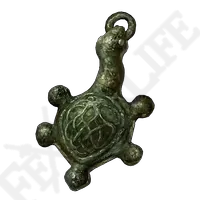
Use one short punish, then release inputs long enough for stamina to return. Holding a shield slows recovery; lower it when the immediate attack has passed. Green Turtle helps recovery but cannot rescue a fully committed chain.
Guard counters occur with a heavy attack after blocking a hit. Wait for a chain to end, because the counter can be interrupted by the next hit. Blocking grabs, status pressure and elemental damage needs separate caution.
Stance pressure needs consistency
Charged heavies, jump heavies, guard counters and suitable skills can build stance damage. The enemy’s hidden stance recovers after you stop applying pressure, so a single hit followed by a long retreat may not produce a break.
After the break, stop attacking and position for the critical if one is available. A stance break is not the same as bleed, frostbite, a flinch or a guaranteed skip of a scripted phase.
Diagnose the next attempt
If you die during windups, use a shorter punish. If you die after an attack, preserve stamina. If rolling repeats without a hit to dodge, wait for the release cue. If you fail to survive one mistake, review Vigor, armor, relevant defenses and DLC blessing.
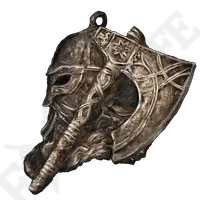
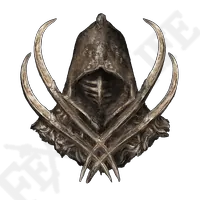
Talismans follow the input: Axe supports charged melee heavies, Claw supports ordinary jump attacks, Alexander supports skills. An animation’s appearance does not move it into another bonus category.
Continue through the archive
Sources & verification
Reference-based guidance. Public source excerpts and official patch notes informed this edition; full wiki access was limited. No in-game test, damage benchmark or complete patch audit is claimed.
- Eldenpedia: Equipment load
- Eldenpedia: Stance
- Eldenpedia: Green Turtle Talisman
- Eldenpedia: Claw Talisman
Image sources
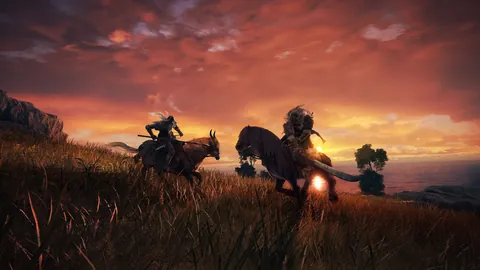
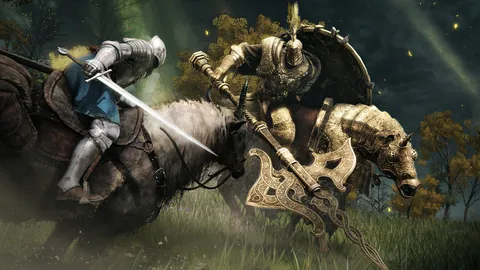
Exploring the open fields of Limgrave, in-game screenshot — FromSoftware official gallery ↗
Game visuals © FromSoftware / Bandai Namco. Publicly accessible reference images; no free asset license is claimed. Image credits and use notes.