Attribute plan
Vagabond / Rune Level 150Unbuffed attributes. No Great Rune, talisman, armor or Physick bonuses included.
The loadout
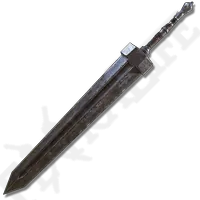
Heavy affinity, +25. Two-hand for the regular moveset; all requirements also work one-handed.
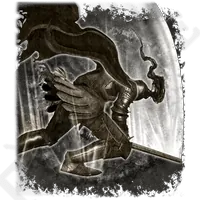
Use once in a confirmed opening. Hyperarmor is permission to finish an attack, not protection from damage.
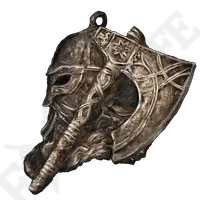 Base game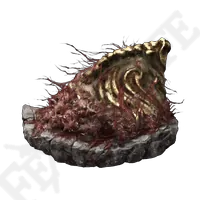
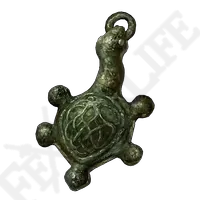
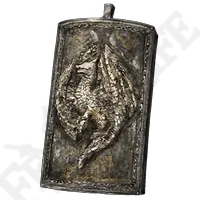
Late game. Use a weaker Dragoncrest Shield variant before Elphael.
Armor & equipment load
Start with the Vagabond set. Later use pieces of the Knight set from Roundtable Hold; mix lighter gloves or helmet as needed. Keep total equipped weight strictly below 70% of your current maximum. The sword alone weighs 23.0; a second weapon or shield counts even when put away.
Flasks & Physick
Begin near 10 Crimson / 4 Cerulean at 14 charges; move one charge toward Crimson if you rarely use Lion’s Claw. Physick: Strength-knot early, then Stonebarb Cracked Tear for a short stance-pressure window and Opaline Hardtear for defense. These are optional, not requirements.
Build it through the run
- 01
Early · Limgrave / RL 20–40
Use the starting Longsword or buy a Zweihander on the Weeping Peninsula. Raise Vigor toward 30 first. Greatsword needs 21 Strength and 12 Dexterity when two-handed, or 31 Strength one-handed. Ride to the Caelid carriage and leave rather than fighting the dogs.
- 02
Middle · Liurnia / Altus / RL 60–90
Collect the Iron Whetblade in Stormveil for Heavy options, then defeat the lion in Fort Gael for Lion’s Claw. Keep upgrading one normal weapon. Aim for Vigor 40, enough Endurance for medium load, and Strength around 40 before pushing damage stats.
- 03
Late · RL 120–150
Finish Vigor 60 and Strength 78, then Endurance and Mind as shown. Upgrade Greatsword to +25 when an Ancient Dragon Smithing Stone is available. Complete Alexander’s quest for his shard. Your roll matters more than wearing the heaviest set.
Fight with a reserve
Wait for a combo to end, step into range, and choose one jump heavy or one Lion’s Claw. Keep stamina for the escape. A second heavy attack is a decision based on the recovery animation, not a fixed rotation.
A stance break creates a critical opportunity. Stop swinging, approach the correct side, and use a light attack when the critical position is available. Charged attacks cost time: shorten the charge if the boss starts moving.
Where it struggles
Long recovery punishes you against quick enemies and multi-part combos. Learn the fight with single light attacks before adding a skill. Physical damage remains useful against bleed-immune targets, but stance breaks do not cancel every scripted transition.
This is a base-game build. No DLC talisman, Great Rune, stat-boosting armor, multiplayer trade or temporary buff is included in the level calculation.
Alternatives & adaptations
- Keep the lighter Zweihander if Greatsword forces a heavy roll; it needs 19 STR / 11 DEX one-handed.
- Use the sword’s crouching or rolling thrust in short openings; you do not need Lion’s Claw for every punish.
- For very high physical resistance, a separately upgraded strike weapon can help; do not expect Heavy affinity to change a sword into strike damage.
Encounters to prepare for
These encounter notes explain useful tools and limits; they are not measured performance ratings.



Continue through the archive


Sources & verification
Reference-based guidance. Public source excerpts and official patch notes informed this edition; full wiki access was limited. No in-game test, damage benchmark or complete patch audit is claimed.
Image sources
Greatsword, in-game equipment icon — Elden Ring Fan API archive ↗
Game visuals © FromSoftware / Bandai Namco. Publicly accessible reference images; no free asset license is claimed. Image credits and use notes.